

java - 云代码空间
—— 员工第一,客户第二。没有他们,就没有阿里巴巴。也只有他们开心了,我们的客户才会开心。而客户们那些鼓励的言语,鼓励的话,又会让他们像发疯一样去工作,这也使得我们的
目前最流行的 Linux 操作系统发行版是 Ubuntu。但是我们这次是要在 Linux 操作系统中运行 ASP.NET 的,所以选择了 openSUSE。我准备在 Oracle VM VirtualBox 中安装 openSUSE 11.3 操作系统。
首先到 openSUSE 官方网站下载 openSUSE-11.3-DVD-x86_64.iso 文件。
然后运行 Oracle VM VirtualBox 4.0,新建一个 openSuse 虚拟机并按下图进行设置:
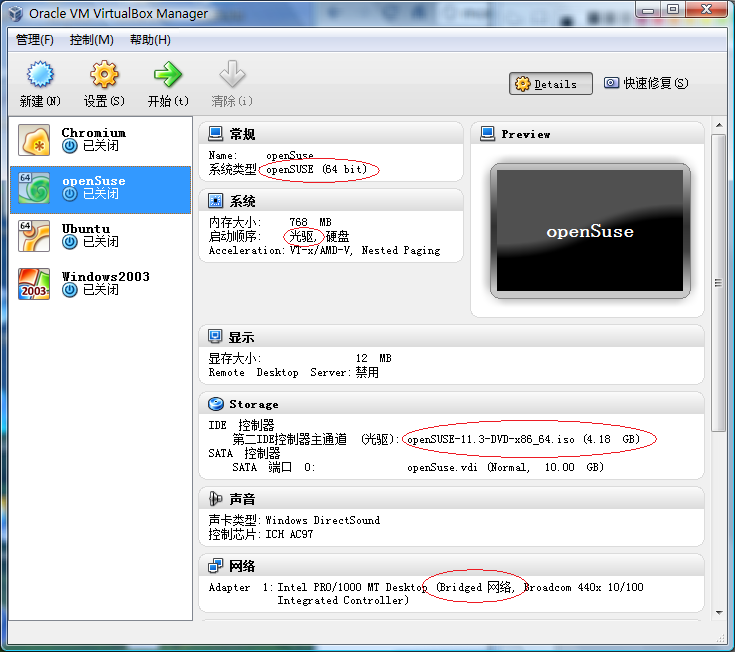
为了使宿主机能够从网络上访问虚拟机,网络连接方式必须设为 Bridged Adapter,如下图所示:
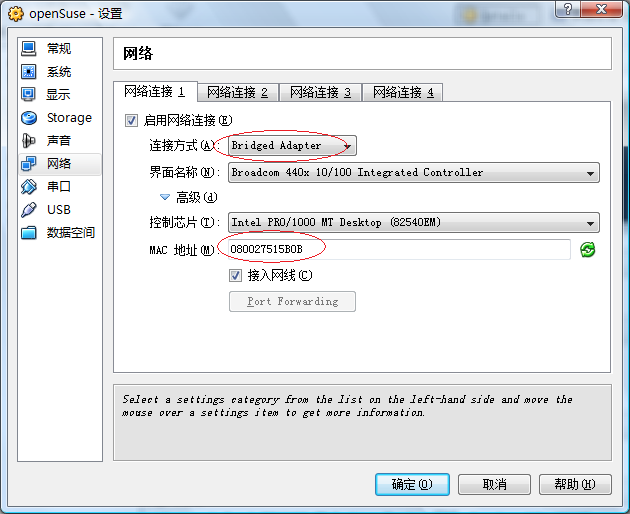
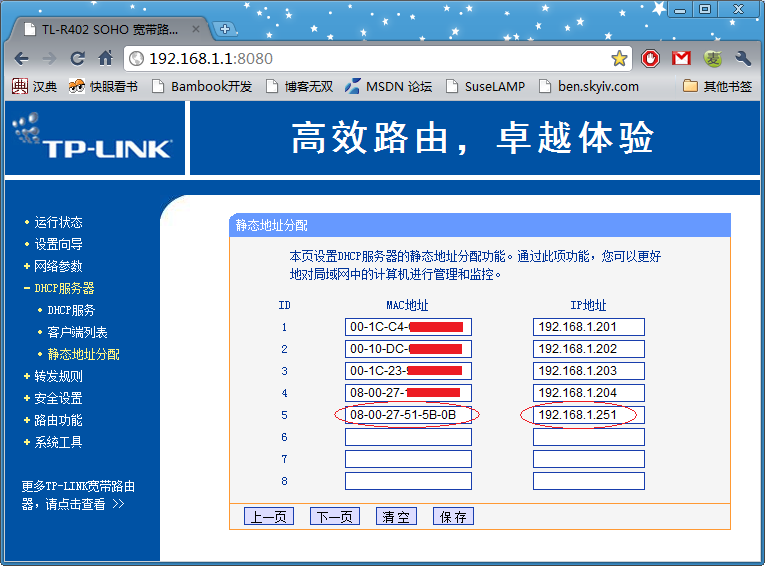
记下上图的 MAC 地址,然后在宽带路由器为它分配一个静态地址,如下图所示:
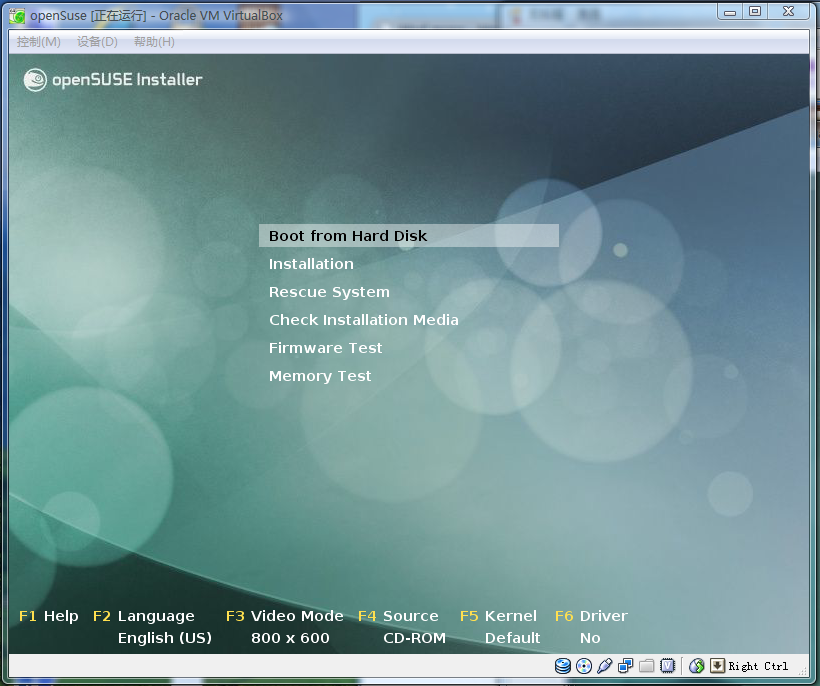
点击 Oracle VM VirtualBox 工具栏的“开始”按钮,开始安装 openSUSE 操作系统。
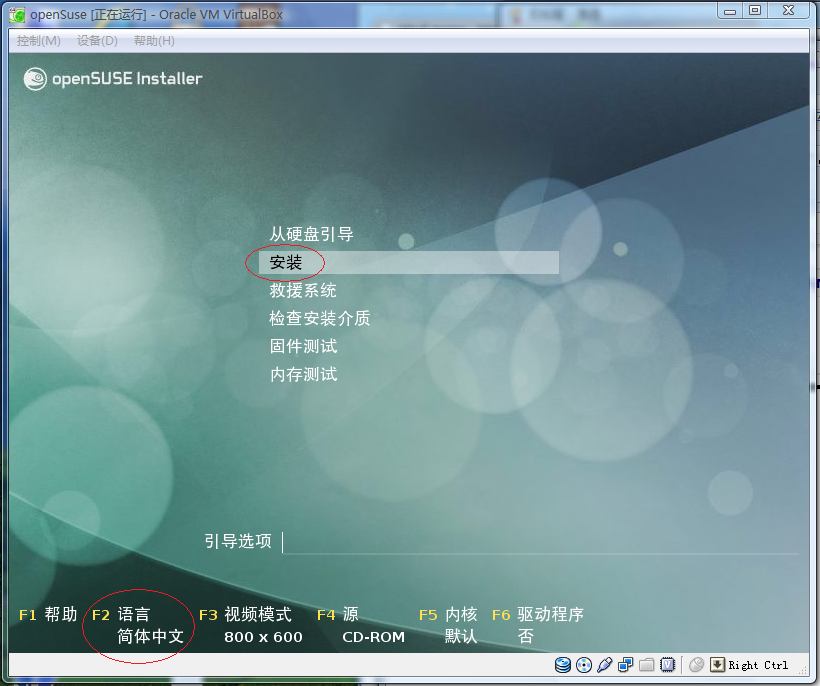
按“F2”键选选择“简体中文”作为默认语言。然后在主菜单中选择“安装”。一路点击“下一步”按钮,直到“桌面选择”:

默认的是“KDE桌面”,我实际选择了“GNOME桌面”,因为 Ubuntu 操作系统默认的桌面就是“GNOME桌面”,用熟了,不想换。从上图中可以看出,如果要安装生产服务器,最好选择“最小化的服务器挑选(文本模式)”。点击“下一步”,现在是规划磁盘分区的时候了:
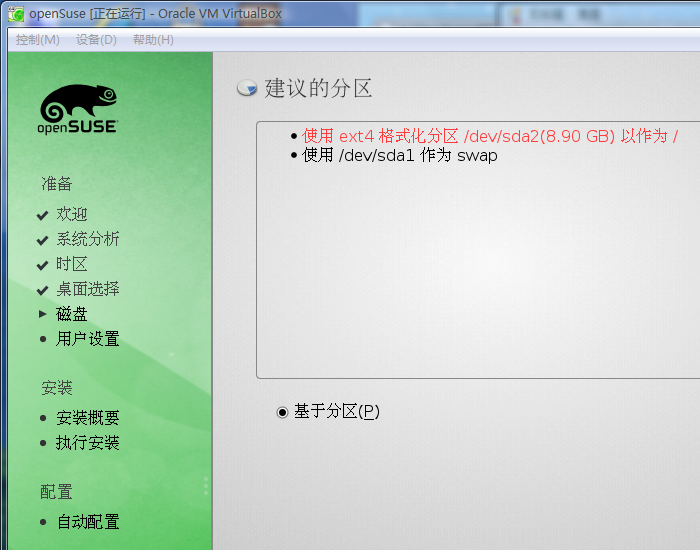
就使用建议的分区好了,点击“下一步”,进入“用户设置”步骤:
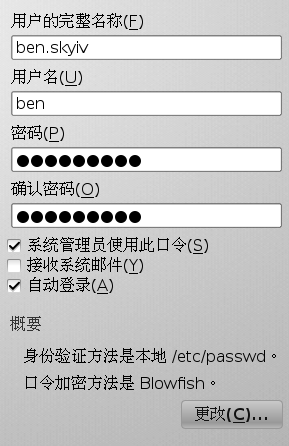
输入“用户名”和“密码”等项目后,点击“下一步”,进入“安装概要”:
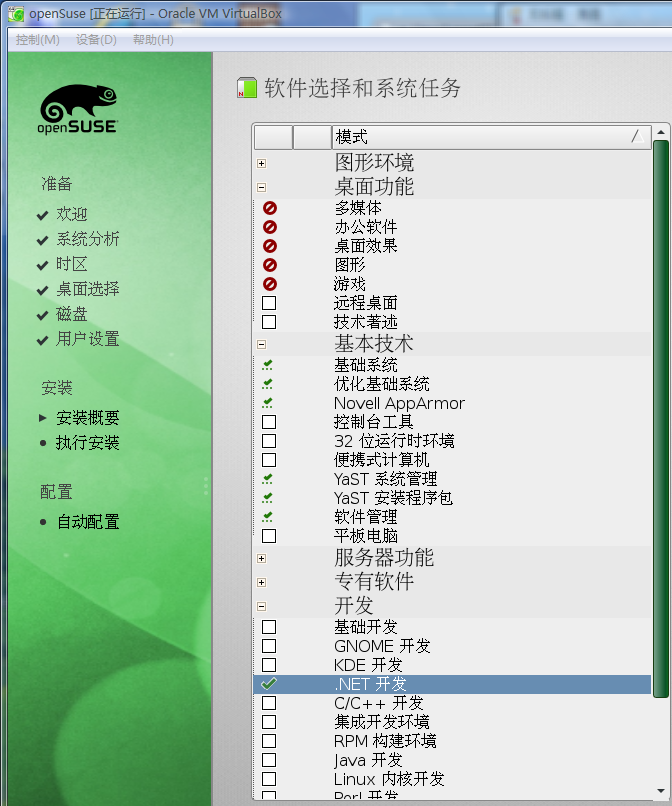
我更改了“软件选择”中的项目,去掉了“桌面功能”,增加了“.NET开发”。
确认无误后,点击“安装”,进行到了漫长的安装过程:

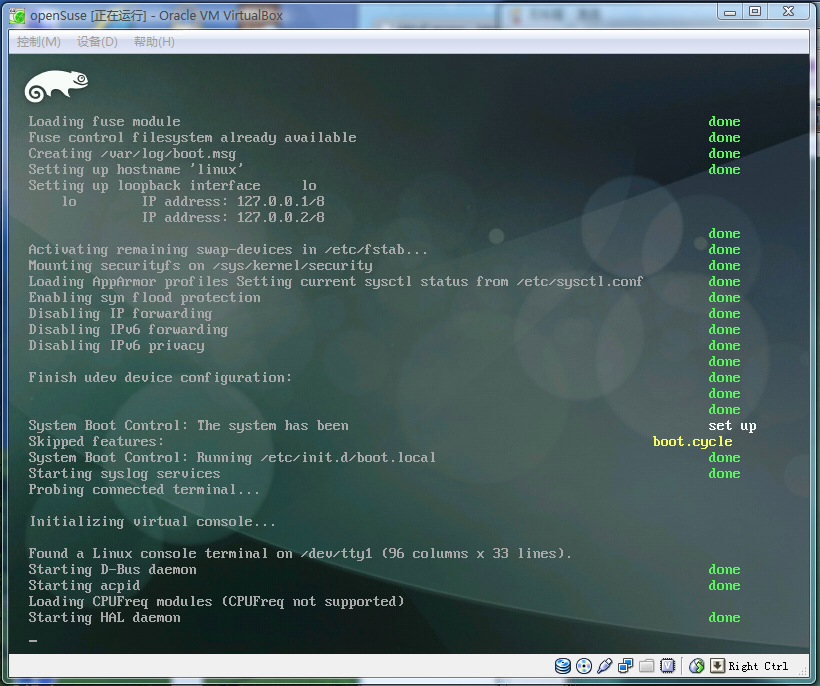
软件包安装完成后,自动重启,如下图所示:
最后,完成安装进入 openSUSE 操作系统的桌面:
至此,openSUSE 11.3 操作系统就安装完成了。
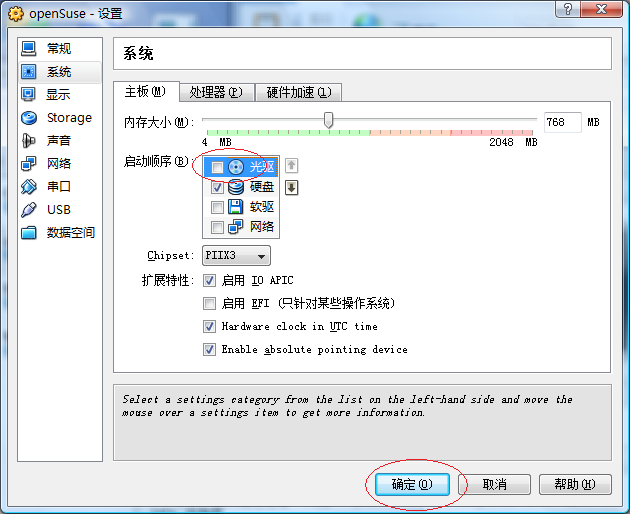
关闭 openSUSE 虚拟机后,应该在该虚拟机“设置”中把“光驱”从“启动顺序”去除,如下图所示:
现在让我们对刚刚安装好的 openSUSE 11.3 操作系统进行必要的配置吧。
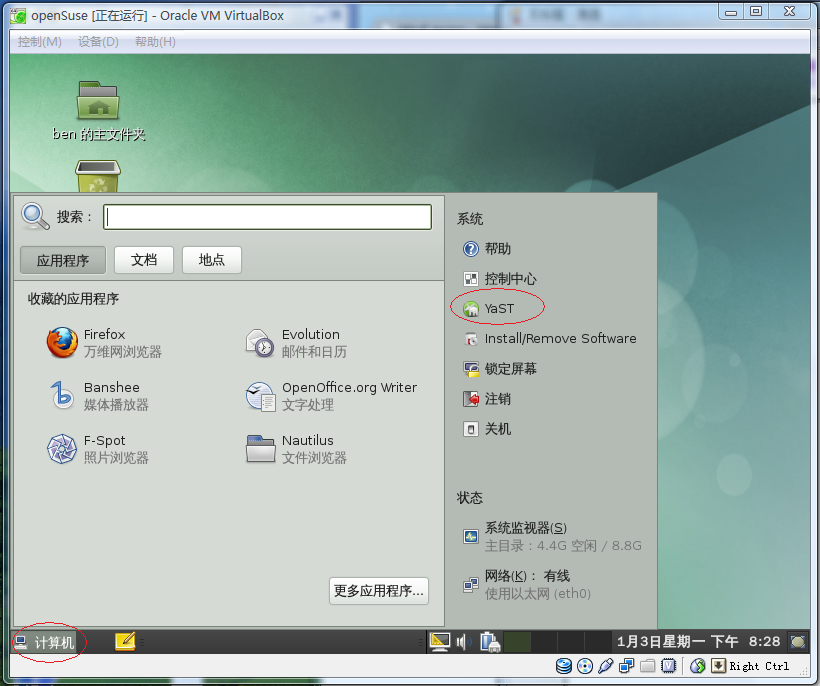
如上图所示,点击“计算机 –> YaST”,然后:

输入 root 口令后,点击继续,进入“YaST2 Control Center”:

如上图所示,点击“安全和用户”中的“Sudo”项目,进入“Sudo 配置: sudo 规则”:
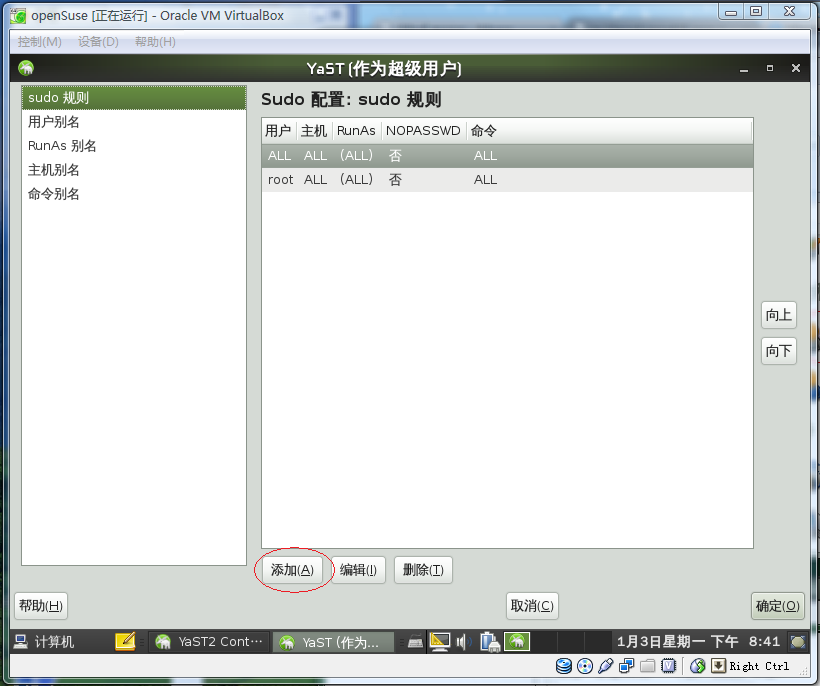
如上图所示,点击“添加”按钮,进入“新的 Sudo 规则”:
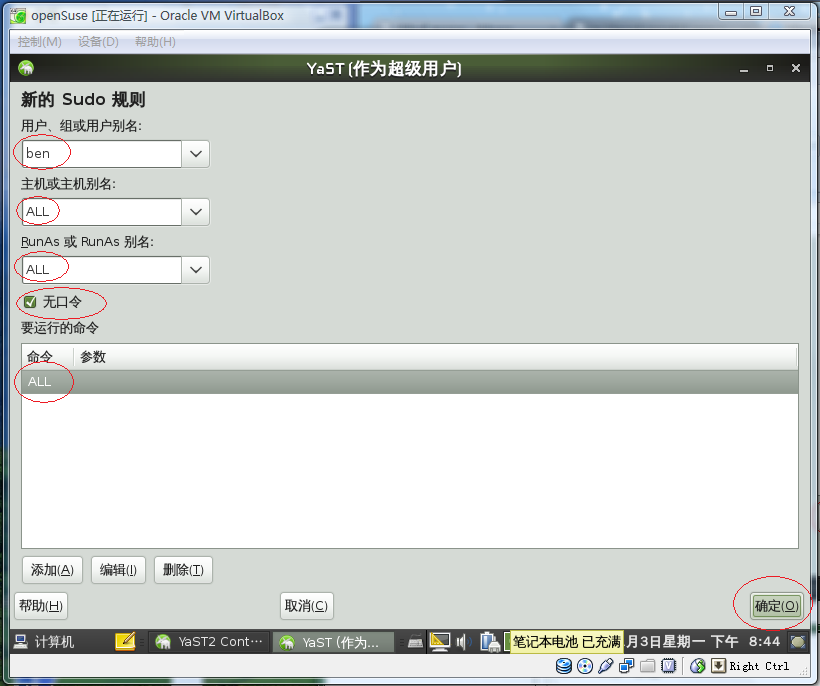
如上图所示,给自己的用户添加一个 sudo 特权,可以不需要输入 root 密码就能够执行特权指令。然后点击“确定”按钮,效果如下图所示:
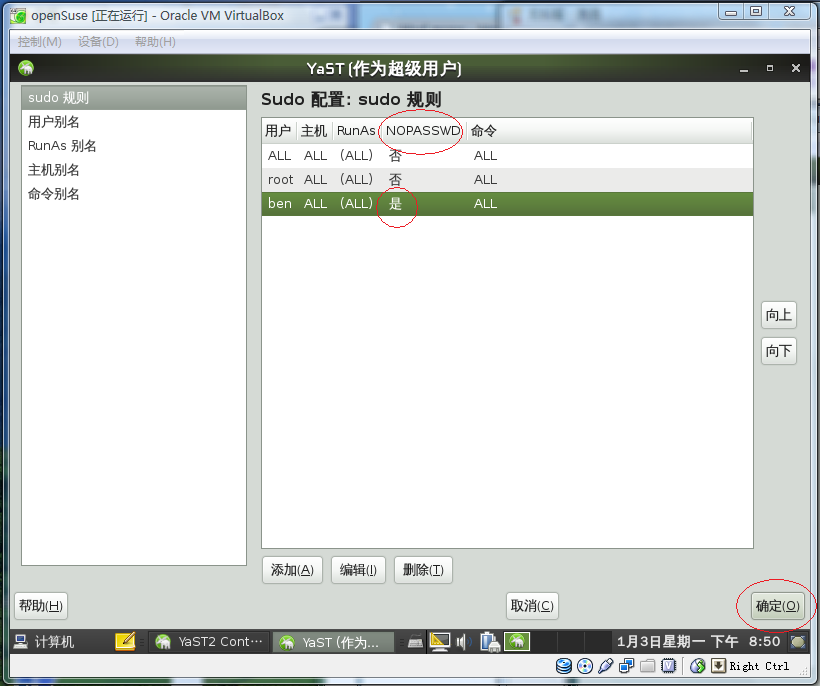
如上图所示,点击“确定”按钮后,回到“YaST2 Control Center”:

如上图所示,点击“安全和用户”中的“防火墙”,进入“防火墙配置”:
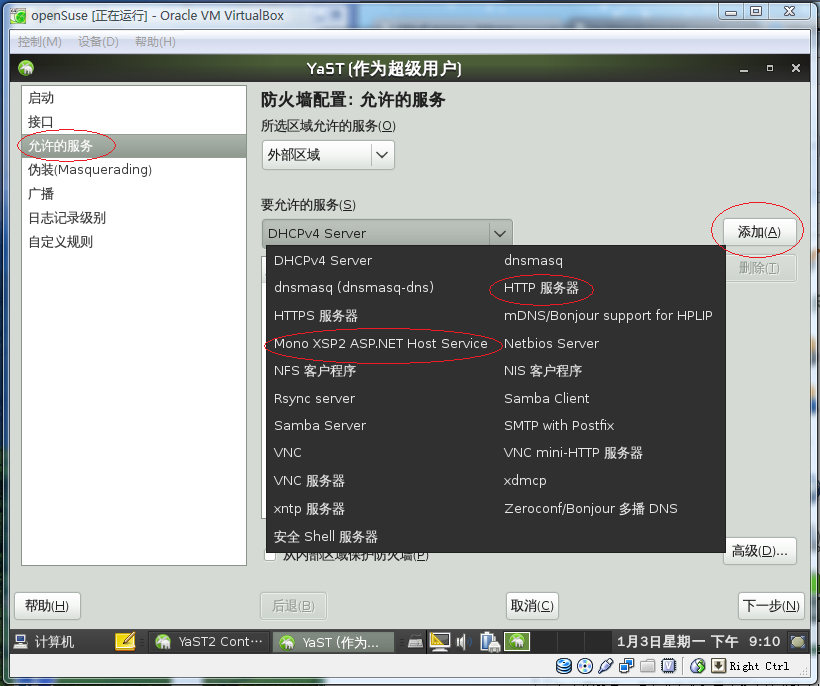
如上图所示,在“允许的服务”中添加“HTTP 服务器”和“Mono XSP2 ASP.NET Host Service”:
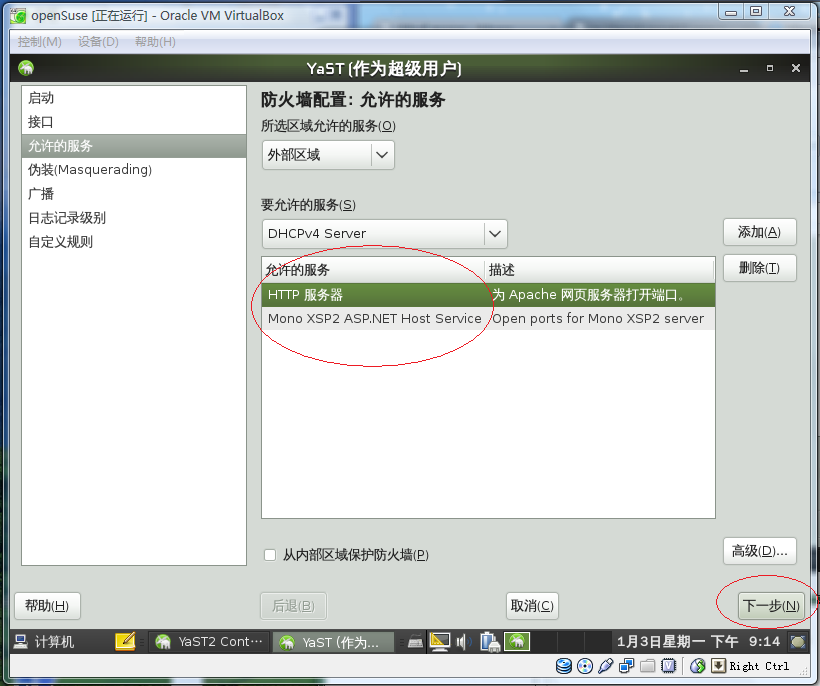
如上图所示,点击“下一步”按钮,然后点击“完成”按钮就行了。
点击“计算机 –> 控制中心”,进入“控制中心”:
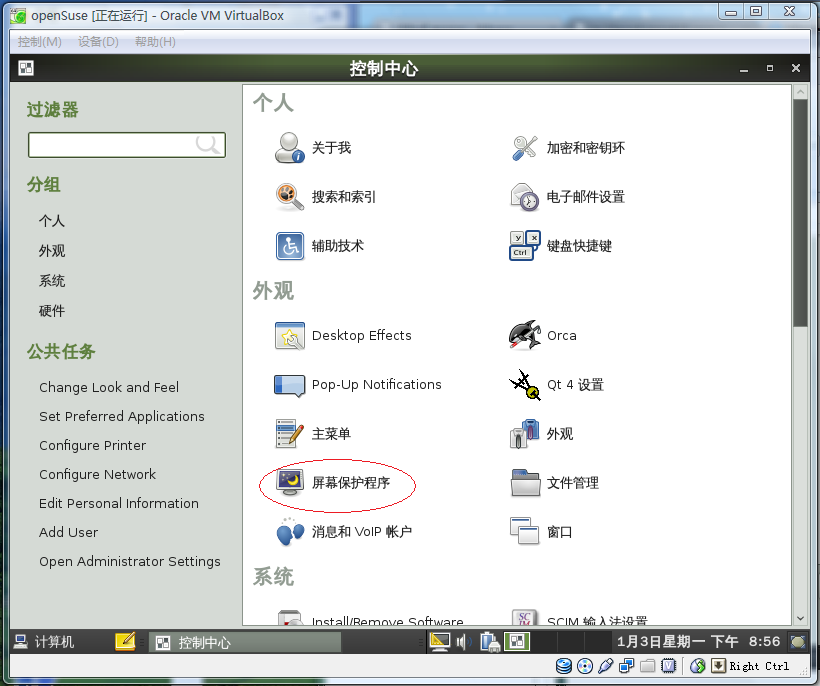
如上图所示,点击“外观”中的“屏幕保护程序”,进入“屏幕保护程序首选项”:
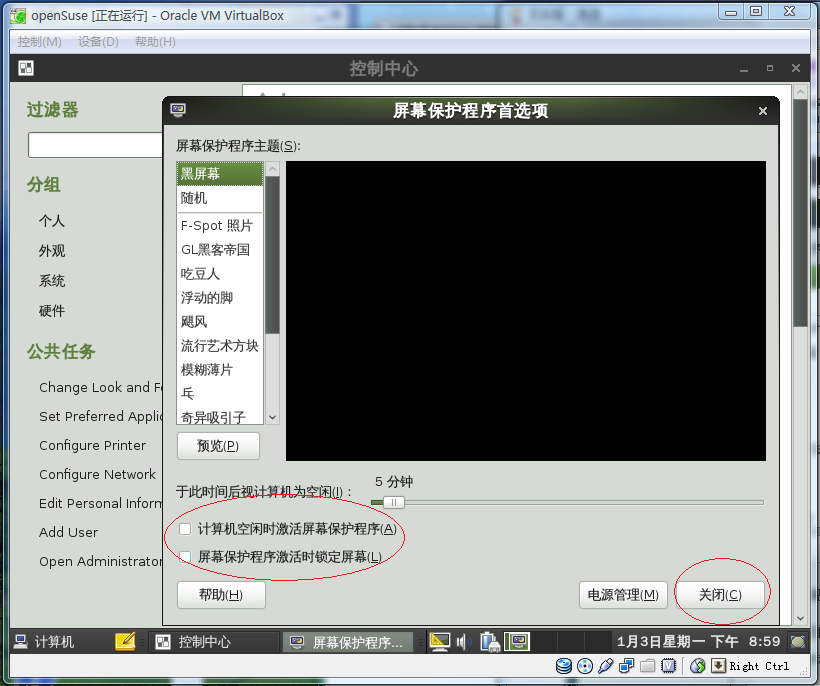
如上图所示,确保“计算机空闲时激活屏幕保护程序”复选按钮未选中。然后按“关闭”按钮。
下面将要使用 Linux 操作系统的命令来做一些事情。
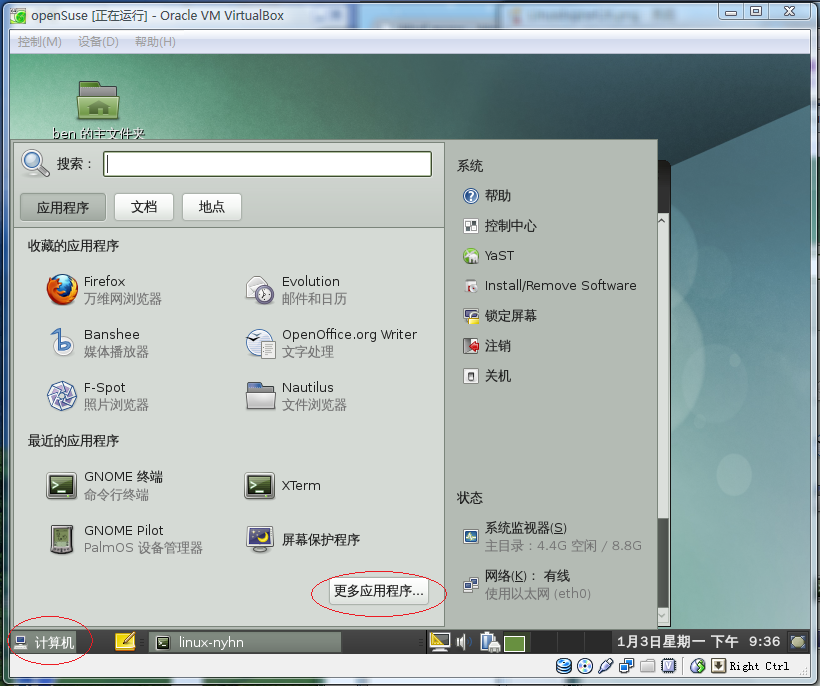
如上图所示,点击“计算机 –> 更多应用程序”,进入“应用程序浏览器”:
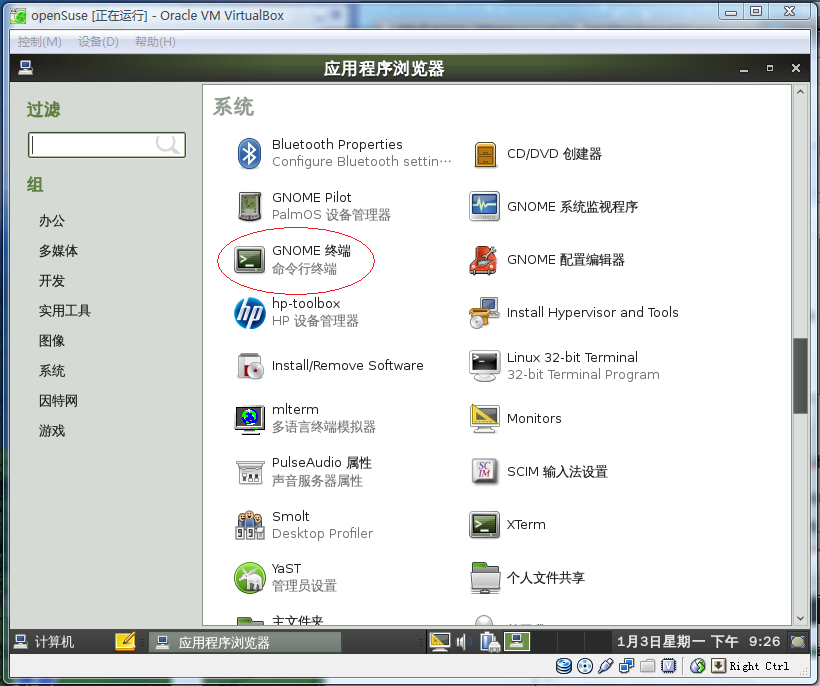
如上图所示,点击“GNOME 终端”,进入 Linux 命令行:
在“GNOME 终端”中输入以下命令:
ben@linux-nyhn:~> sudo vim /etc/sysconfig/network/config
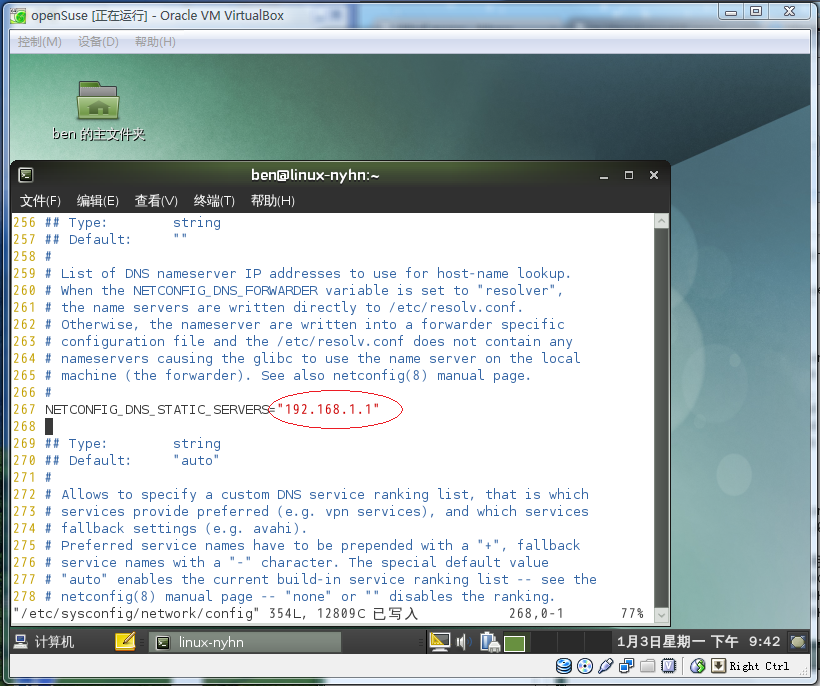
如上图所示,增加“192.168.1.1”为 DNS 服务器。然后执行以下命令更新网络配置:
ben@linux-nyhn:~> sudo /sbin/netconfig update -f
下面就可以更新系统了:
ben@linux-nyhn:~> sudo zypper refresh
Retrieving repository 'Updates for openSUSE 11.3 11.3-1.82' metadata [done]
正在构建 'Updates for openSUSE 11.3 11.3-1.82' 安装源缓存 [done]
Retrieving repository 'openSUSE-11.3-Non-Oss' metadata [done]
正在构建 'openSUSE-11.3-Non-Oss' 安装源缓存 [done]
Retrieving repository 'openSUSE-11.3-Oss' metadata [done]
正在构建 'openSUSE-11.3-Oss' 安装源缓存 [done]
All repositories have been refreshed.
ben@linux-nyhn:~> sudo zypper update
===========> 在这里进行漫长的更新  sudo zypper dist-upgrade
========> 在这里进行不那么漫长的升级
更新完成后要求重启系统。
这样,openSUSE 11.3 操作系统基本上就配置好了。
现在,我们进入“GNOME 终端”,使用 ifconfig 命令验证一下本虚拟的 IP 地址就是一开始我们在宽带路由器中为它分配的静态地址。
ben@linux-nyhn:~> /sbin/ifconfig
eth0 Link encap:Ethernet HWaddr 08:00:27:51:5B:0B
inet addr:192.168.1.251 Bcast:192.168.1.255 Mask:255.255.255.0
inet6 addr: fe80::a00:27ff:fe51:5b0b/64 Scope:Link
UP BROADCAST RUNNING MULTICAST MTU:1500 Metric:1
RX packets:853 errors:0 dropped:0 overruns:0 frame:0
TX packets:807 errors:0 dropped:0 overruns:0 carrier:0
collisions:0 txqueuelen:1000
RX bytes:853227 (833.2 Kb) TX bytes:90376 (88.2 Kb)
lo Link encap:Local Loopback
inet addr:127.0.0.1 Mask:255.0.0.0
inet6 addr: ::1/128 Scope:Host
UP LOOPBACK RUNNING MTU:16436 Metric:1
RX packets:22 errors:0 dropped:0 overruns:0 frame:0
TX packets:22 errors:0 dropped:0 overruns:0 carrier:0
collisions:0 txqueuelen:0
RX bytes:1300 (1.2 Kb) TX bytes:1300 (1.2 Kb)
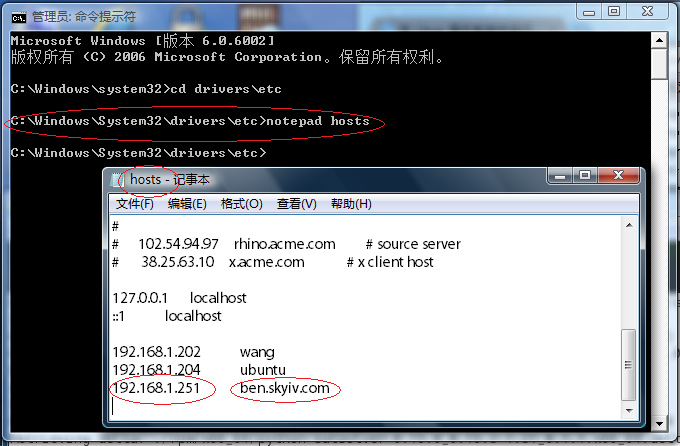
ben@linux-nyhn:~> sudo vim /etc/hosts
如上所示,再使用 vim 编辑器编辑 /etc/hosts 文件,增加一个域名 ben.skyiv.com,如下图所示:
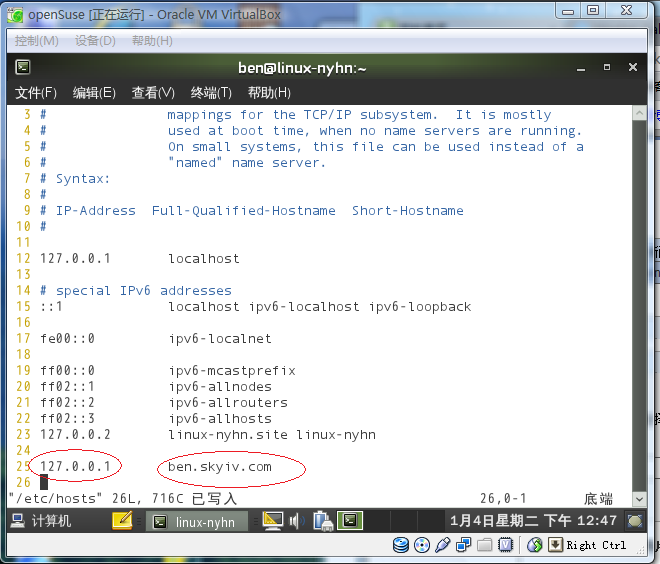
注意上图中的 IP 地址必须是 127.0.0.1,而不能是 192.168.1.251。在宿主机的 Windows Vista 操作系统中以管理员身份进入命令提示符,使用记事本编辑 C:\Windows\System32\drivers\etc\hosts 文件,增加一个同样的域名 ben.skyiv.com,注意此时 IP 地址必须是 192.168.1.251,而不能是 127.0.0.1,如下图所示:
我们的 openSUSE 11.3 操作系统已经安装好了 apache 软件,但尚未启用,如下所示:
ben@linux-nyhn:~> sudo /sbin/service apache2 status Checking for httpd2: unused
那么,现在,让我们设置 apache 为开机随系统启动,并且现在就启动它吧:
ben@linux-nyhn:~> sudo /sbin/chkconfig -add apache2 apache2                   0:off  1:off  2:off 3:on 4:off 5:on 6:off
ben@linux-nyhn:~> sudo /sbin/service apache2 start Starting httpd2 (prefork) done ben@linux-nyhn:~> sudo /sbin/service apache2 status Checking for httpd2: running
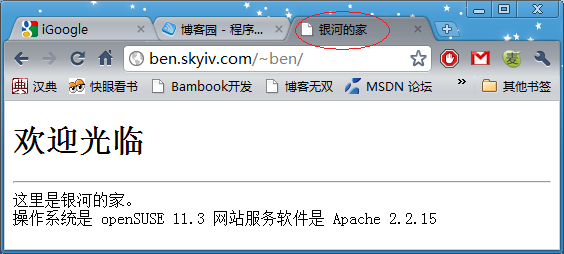
现在让我们在宿主机的 Windows Vista 操作系统的谷歌浏览器中打开 ben.skyiv.com 网站试试看吧:
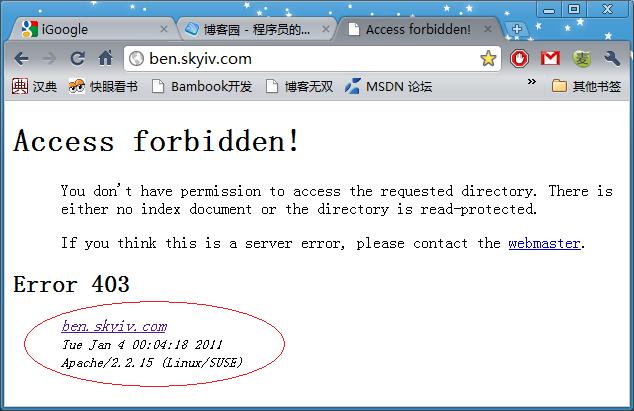
如上图所示,我们的 Apache 2.2.15 已经正常工作在 Linux/SUSE 操作系统上了。只不过现在该网站还没有内容而已。
在 openSUSE 操作系统中,Apache 的默认文档是放在 /srv/www/htdocs 目录下的。
openSUSE 操作系统已经为每个用户建立了 public_html 目录,例如我的用户就是 /home/ben/public_html 目录,用以放置该用户的网站的内容。可以通过 ben.skyiv.com/~ben 访问,这里 ben 是我的用户名,如下图所示:
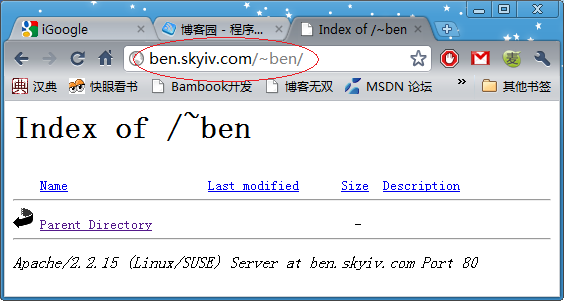
从上图中可以看出,这个目录是空的,需要用户自己放里放东东。那么,我们就编写如下一个 index.html 吧:
ben@linux-nyhn:~> cd public_html ben@linux-nyhn:~/public_html> vim index.html
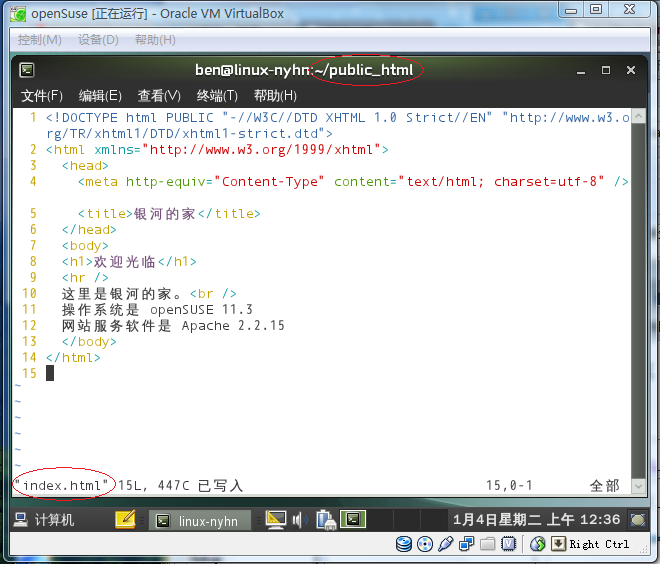
再次在 Windows Vista 操作系统中访问 ben.skyiv.com/~ben 网页:
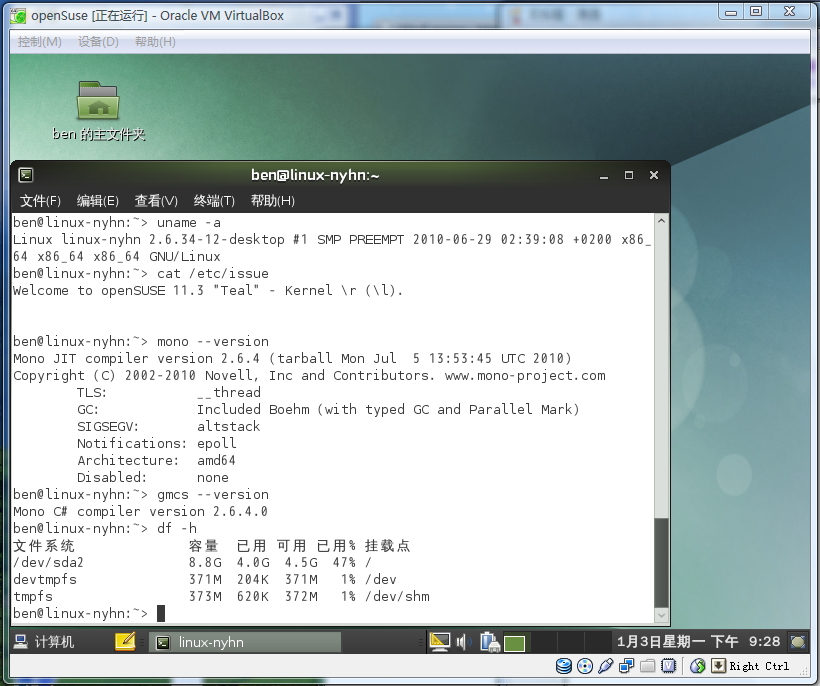
现在让我们来看看 mono 的版本:
ben@linux-nyhn:~> mono --version Mono JIT compiler version 2.6.4 (tarball Mon Jul  5 13:53:45 UTC 2010)
Copyright (C) 2002-2010 Novell, Inc and Contributors. www.mono-project.com
	TLS:           __thread
	GC:            Included Boehm (with typed GC and Parallel Mark)
	SIGSEGV:       altstack
	Notifications: epoll
	Architecture:  amd64
	Disabled:      none
ben@linux-nyhn:~>
ben@linux-nyhn:~> gmcs --version Mono C# compiler version 2.6.4.0
这个 mono 2.6.4 的版本太低了。根据 mono 官方下载页面的指示,按如下步骤进行升级:
ben@linux-nyhn:~> sudo zypper addrepo http://ftp.novell.com/pub/mono/download-stable/openSUSE_11.3 mono-stable 正在添加安装源 'mono-stable' [done]
Repository 'mono-stable' successfully added
Enabled: Yes
Autorefresh: No
URI: http://ftp.novell.com/pub/mono/download-stable/openSUSE_11.3

ben@linux-nyhn:~> sudo zypper refresh --repo mono-stable Retrieving repository 'mono-stable' metadata [done]
正在构建 'mono-stable' 安装源缓存 [done]
Specified repositories have been refreshed.
ben@linux-nyhn:~> zypper dist-upgrade --repo mono-stable =================> 在这里进行漫长的升级 <=================
ben@linux-nyhn:~>
升级完成,再次查看 mono 的版本:
ben@linux-nyhn:~> mono --version Mono JIT compiler version 2.8.1 (tarball Fri Nov 12 14:37:21 UTC 2010)
Copyright (C) 2002-2010 Novell, Inc and Contributors. www.mono-project.com
	TLS:           __thread
	SIGSEGV:       altstack
	Notifications: epoll
	Architecture:  amd64
	Disabled:      none
	Misc:          debugger softdebug
	LLVM:          yes(2.8svn-mono)
	GC:            Included Boehm (with typed GC and Parallel Mark)
ben@linux-nyhn:~> dmcs --version Mono C# compiler version 2.8.1.0
果然已经升级到最新的 mono 2.8.1 版本了。
在 Apache mod_mono configuration tool 网页可以生成运行 ASP.NET 所需要的 Apache 软件的配置文件,如下图所示:
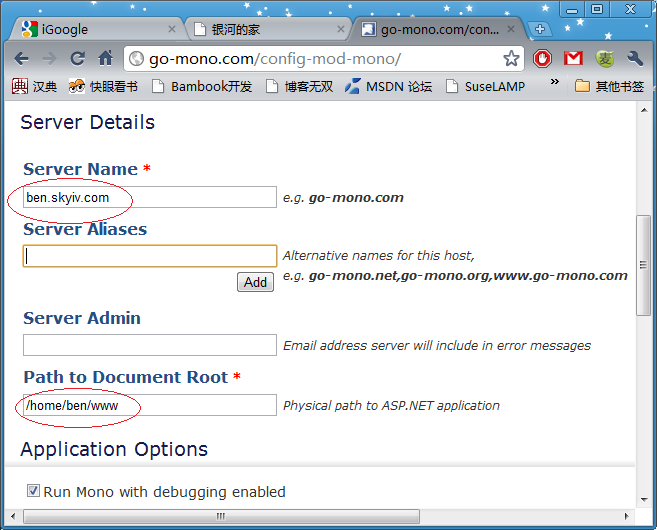
生成的 ben.skyiv.com.conf 文件如下所示:
<virtualhost *:80>
  ServerName ben.skyiv.com
  DocumentRoot /home/ben/www
  # MonoServerPath can be changed to specify which version of ASP.NET is hosted
  # mod-mono-server1 = ASP.NET 1.1 / mod-mono-server2 = ASP.NET 2.0
  # For SUSE Linux Enterprise Mono Extension, uncomment the line below:
  # MonoServerPath ben.skyiv.com "/opt/novell/mono/bin/mod-mono-server2"
  # For Mono on openSUSE, uncomment the line below instead:
  MonoServerPath ben.skyiv.com "/usr/bin/mod-mono-server2"

  # To obtain line numbers in stack traces you need to do two things:
  # 1) Enable Debug code generation in your page by using the Debug="true"
  #    page directive, or by setting  in the
  #    application's Web.config
  # 2) Uncomment the MonoDebug true directive below to enable mod_mono debugging
  MonoDebug ben.skyiv.com true

  # The MONO_IOMAP environment variable can be configured to provide platform abstraction
  # for file access in Linux.  Valid values for MONO_IOMAP are:
  #    case
  #    drive
  #    all
  # Uncomment the line below to alter file access behavior for the configured application
  MonoSetEnv ben.skyiv.com MONO_IOMAP=all
  #
  # Additional environtment variables can be set for this server instance using
  # the MonoSetEnv directive.  MonoSetEnv takes a string of 'name=value' pairs
  # separated by semicolons.  For instance, to enable platform abstraction *and*
  # use Mono's old regular expression interpreter (which is slower, but has a
  # shorter setup time), uncomment the line below instead:
  # MonoSetEnv ben.skyiv.com MONO_IOMAP=all;MONO_OLD_RX=1

  MonoApplications ben.skyiv.com "/:/home/ben/www"
  <location "/">
    Allow from all
    Order allow,deny
    MonoSetServerAlias ben.skyiv.com
    SetHandler mono
    SetOutputFilter DEFLATE
    SetEnvIfNoCase Request_URI "\.(?:gif|jpe?g|png)$" no-gzip dont-vary
  </location>
  <ifmodule mod_deflate.c>
    AddOutputFilterByType DEFLATE text/html text/plain text/xml text/javascript
  </ifmodule>
</virtualhost>
这个 ben.skyiv.com.conf 文件需要放在 /etc/apache2/conf.d 目录下:
ben@ben:~> ll /etc/apache2/conf.d 总计 8
-rw-r--r-- 1 ben  users 2037 01-04 01:21 ben.skyiv.com.conf
-rw-r--r-- 1 root root  1239 10-01 02:12 mod_mono.conf
然后创建 /home/ben/www 目录,并重启 Apache 服务:
ben@ben:~> mkdir www ben@ben:~> sudo /etc/init.d/apache2 restart Syntax OK
Shutting down httpd2 (waiting for all children to terminate) done Starting httpd2 (prefork) done ben@ben:~>
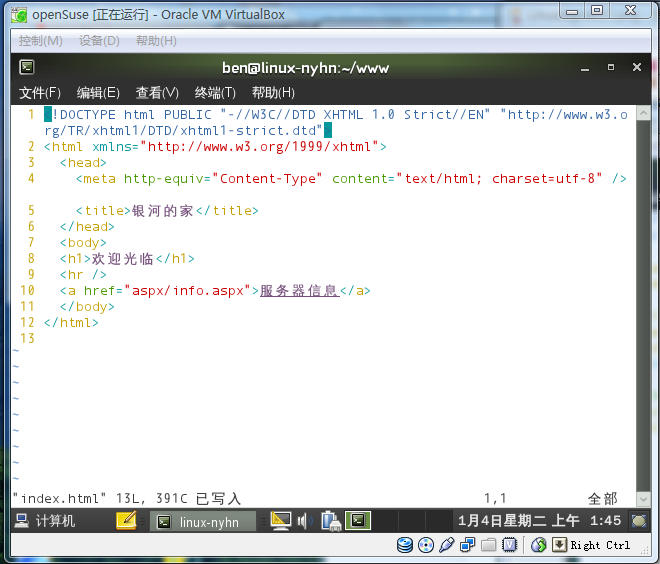
现在让我们建立一个网站:
ben@ben:~> cd www ben@ben:~/www> vim index.html
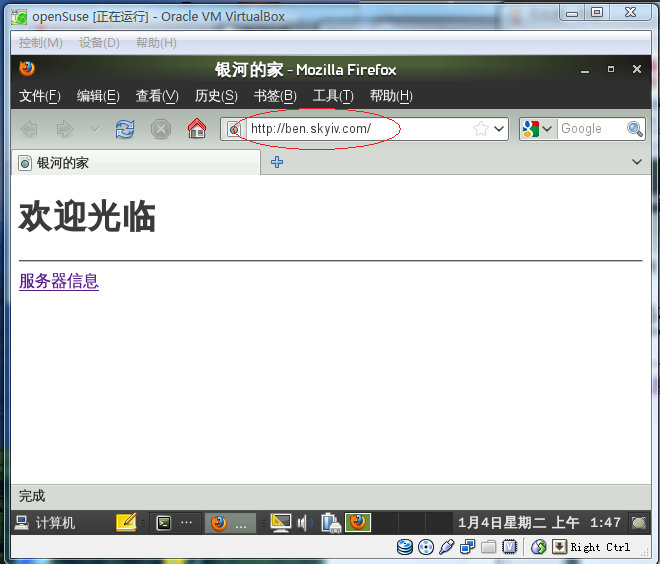
在 openSUSE 11.3 操作系统中访问 ben.skyiv.com 网站,如下图所示:
点击上图中的“服务器信息”,出现“The resource cannot be found”错误:
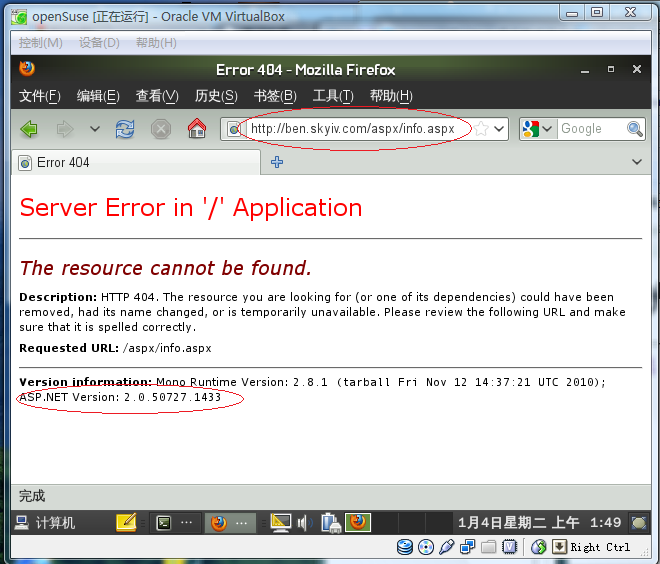
这是预料之中的,因为我们还没有编写 info.aspx 文件呢。从上图中可以看出,ASP.NET 是 2.0 版的。
现在,我们修改 /etc/apache2/conf.d/ben.skyiv.com.conf 文件,如下所示:
ben@ben:~/www> sudo vim /etc/apache2/conf.d/ben.skyiv.com.conf
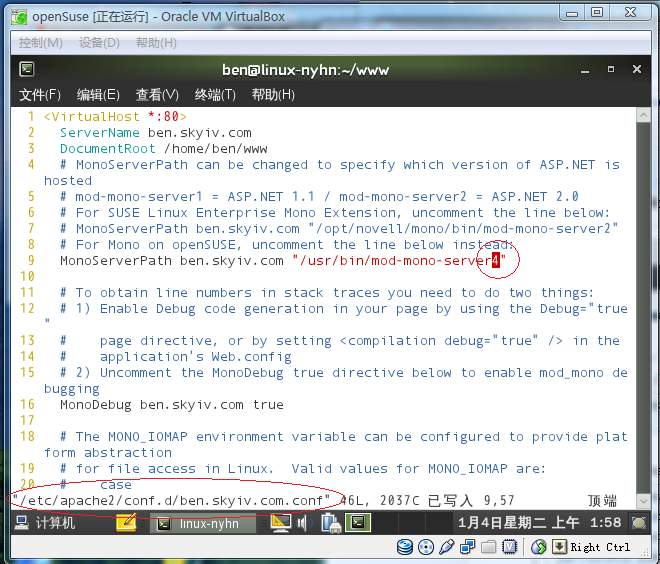
如上图所示,将 mod-mono-server2 改为 mod-mono-server4 。然后重启 Apache 服务:
ben@ben:~> sudo /etc/init.d/apache2 restart Syntax OK
Shutting down httpd2 (waiting for all children to terminate) done Starting httpd2 (prefork) done ben@ben:~>
然后重新访问 ben.skyiv.com/aspx/info.aspx 网页:
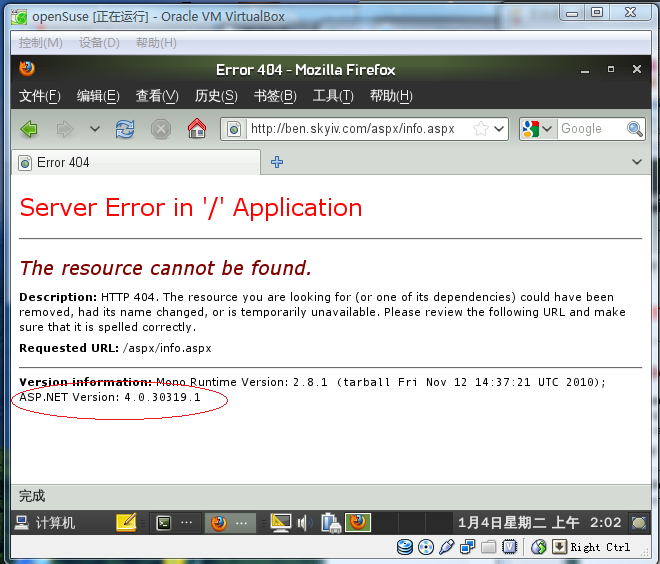
从上图中可以看出,已经运行在 ASP.NET 4 了。
现在,让我们来编写 info.aspx 程序吧:
ben@linux-nyhn:~/www> mkdir aspx src bin ben@linux-nyhn:~/www> vim aspx/info.aspx ben@linux-nyhn:~/www> vim src/info.aspx.cs ben@linux-nyhn:~/www> vim src/info.rsp
网页文件 aspx/info.aspx 的内容如下所示:
01:  <%@ Page Language="C#" inherits="Skyiv.Ben.Web.InfoPage" %>
02:  <!DOCTYPE html PUBLIC "-//W3C//DTD XHTML 1.0 Transitional//EN" "http://www.w3.org/TR/xhtml1/DTD/xhtml1-transitional.dtd">
03:  <html xmlns="http://www.w3.org/1999/xhtml" >
04:  <head runat="server">
05:    <meta http-equiv="Content-Type" content="text/html; charset=utf-8" />
06:    <title>服务器信息</title>
07:  </head>
08:  <body>
09:    <form id="form1" runat="server">
10:    <a href="http://ben.skyiv.com">返回</a>
11:    <hr />
12:    <asp:GridView id="dgMain" runat="Server" >
13:      <AlternatingRowStyle BackColor="#FFFFCD" />
14:      <HeaderStyle BackColor="#AAAADD" />
15:    </asp:GridView>
16:    </form>
17:  </body>
18:  </html>
对应的 C# 源程序 src/info.aspx.cs 的内容如下所示:
01:  using System;
02:  using System.Data;
03:  using System.Web.UI;
04:  using System.Web.UI.WebControls;
05:
06:  namespace Skyiv.Ben.Web
07:  {
08:    public class InfoPage : Page
09:    {
10:      protected GridView dgMain;
11:
12:      public void Page_Load(object sender, EventArgs e)
13:      {
14:        if (IsPostBack) return;
15:        dgMain.DataSource = GetInfo();
16:        dgMain.DataBind();
17:      }
18:
19:      DataTable GetInfo()
20:      {
21:        DataTable dt = new DataTable();
22:        dt.Columns.Add("项目", typeof(string));
23:        dt.Columns.Add("内容", typeof(string));
24:        AddRow(dt, "操作系统", Environment.OSVersion);
25:        AddRow(dt, "公共语言运行库", Environment.Version);
26:        return dt;
27:      }
28:
29:      void AddRow(DataTable dt, string name, object value)
30:      {
31:        DataRow dr = dt.NewRow();
32:        dr[0] = name;
33:        dr[1] = value.ToString();
34:        dt.Rows.Add(dr);
35:      }
36:    }
37:  }
编译响应文件 src/info.rsp 的内容如下所示:
-out:../bin/info.dll
-t:library
-r:System.Data
-r:System.Web
info.aspx.cs
然后就是使用以下命令进行编译了:
ben@linux-nyhn:~/www> cd src ben@linux-nyhn:~/www/src> dmcs @info.rsp
编译完成,网站的运行效果如下图所示:
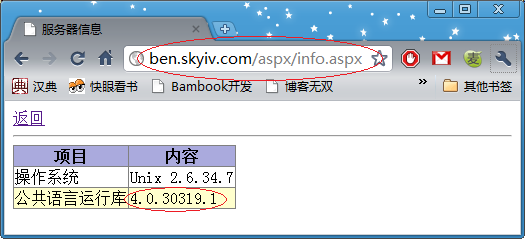
至此,我们成功地在 Linux 操作系统中运行 ASP.NET 4。